
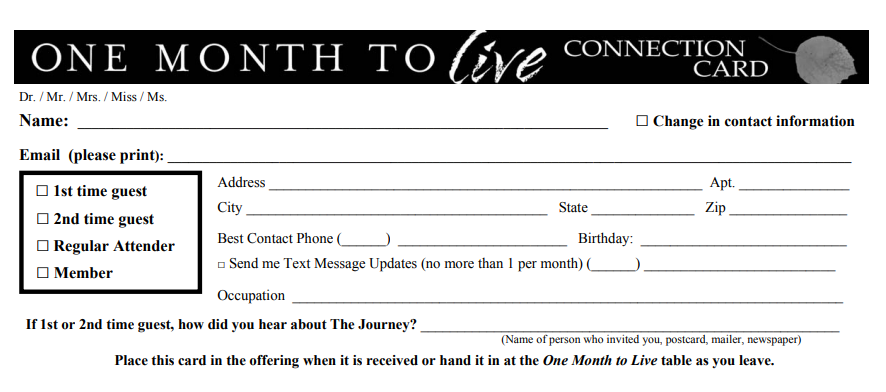
I just Googled "church response cards" and there are some great blog posts and articles on why use them as well as best practices on how. However, when Sunday afternoon or Monday comes, it all boils down to one thing ... entering all this information into the database. Only then can all the other assimilation processes and workflows be launched. The best way to do that in Churchteams is by using Check-in.
Big Picture. Think about it. Assimilation for us is about movement between groups. Check-in is about quickly finding a person and recognizing their group involvement. We added functionality in Check-in views to be able to add, remove and transfer people between groups. It looks like this:
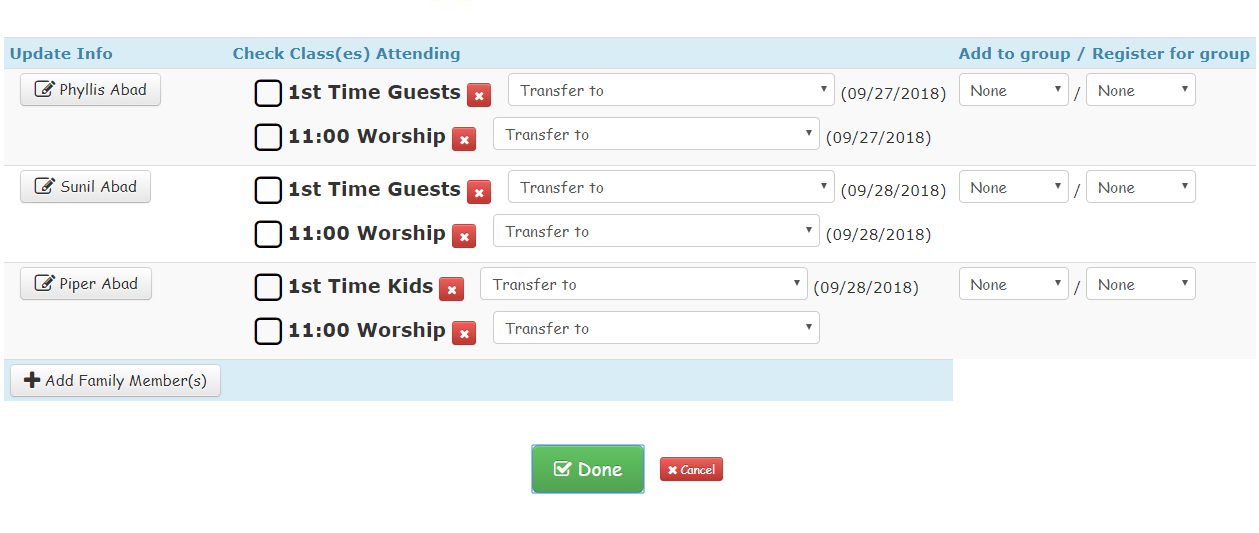
Check-in Page Options. Once you have the response card check-in view set up, staff can start a check-in session, choose that check-in view and no label printing. Then from the search page find the individual or family (Abad family in this case) and be on the page to do any of the following:
- Remove them from the 1st Time Guests group. (red x)
- Transfer them from 1st Time Guests group to 2nd Time Guests or any other group.
- See the date they last attended. (09/27/2018)
- Add them to any other group, say New Member's class.
- Register them for an event that requires additional registration information.
- Check them present for 11:00 Worship service.
- Click their name to update personal information.
Personal Information. C9 in the check-in views gives you 3 options for what happens when you click a person's name button from the check-in page (see above image).

The third option gives full access to the member profile including the ability to add Notes. These include prayer requests and the ability to assign and schedule personal follow-up touches by staff and volunteers.
Check-in View Set Up. Here's how to create the check-in view.
- Click on Check-in then Views / Setup.
- Click to Add Check-in View and give this new view a name like "Response Cards" or "Connection Cards."
- Sections A & B are irrelevant since you will not be printing name tags. Skip them
- Section C, select items 4, 5, 6, 7, 9 and 12 for the view pictured above.
- Section D. Choose the right response to automate actions for First Visit Date Attribute, Add to First Time Guest group, and assign Church Member Type to Guest.
- Section E. E2 is important to add to the search page to be able to quickly add new families.
Groups. After you save the check-in view settings page, click on the button to choose associated groups. These should include all the groups that you want to move people into based on the Connection Card responses.
Once the check-in view is set up and groups are associated, you have created a powerful system for quickly entering the data you worked so hard to get on Sunday. As a huge bonus, with Workflows you can automate and personalize the follow-up process so that by adding or registering people into a group, they are also added to a workflow. Thus, ensuring consistent, effective execution of your assimilation strategy.


