
Just as Sunday comes every week, so does Monday and with it the responsibility to compile and act on every response people submitted the day before. This can be tedious work, but we've automated a lot of it for you. Here's how to set up this automation.
Start by creating a group for each response on your connection card. Then customize the emails people get when they are registered for these groups so that they receive the right information. 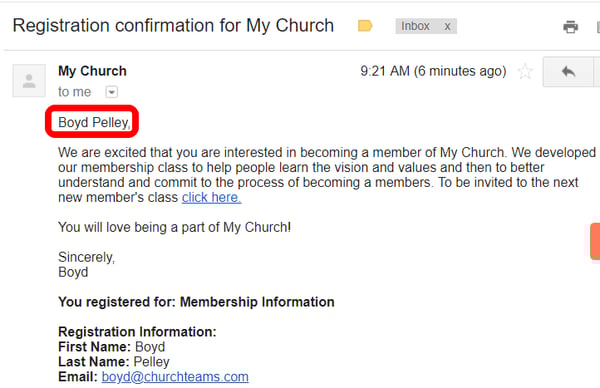
If you were to go to the response group and register a person for it, they would automatically receive this email. However, there is a new, much more streamlined way for you to do this using ... Check-in amazingly enough.
Here are the steps:
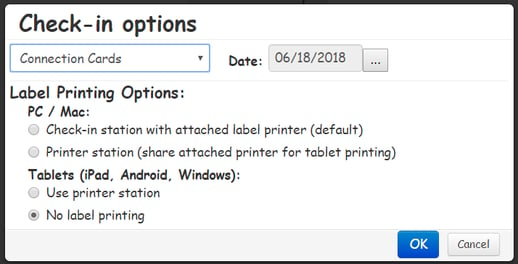
- Create and name a check-in view for connection cards. You won't use labels at all, so don't worry about customizing sections A and B. However, you might want to review and customize sections C, D and E6. (This can be done later as well.)
- Associate all your connection card response groups (above) to this check-in view.
- Login as you normally would then, to enter data, click check-in then start check-in and select this connection card check-in view with no label printing.
- On the search screen, search for the person on the first card. Be sure to search for any possible name variations before adding them as a new family. You don't want to create duplicates.
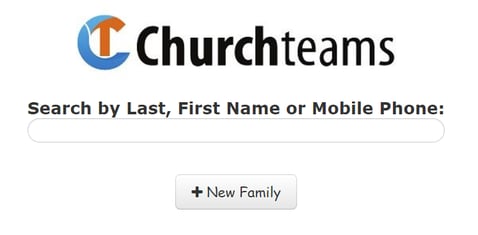
- If they truly are a new person / family, add them in using New Family on the check-in search screen. Saving this will put you on the family screen just as searching for someone in the database already does.
- Click the drop down (circled in red) to register the person for any of the connection card response groups. This is a brand new feature release.
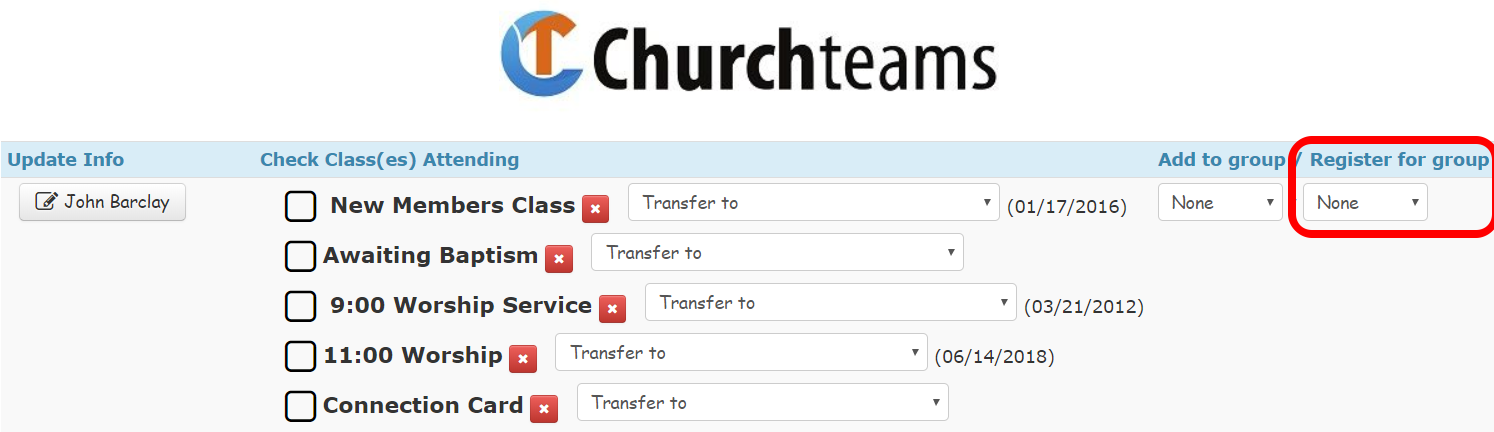
- This will popup a registration form for the chosen group and pre-fill all known information.
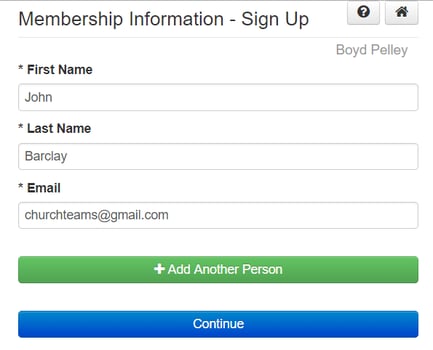
- Selecting Continue will automatically send the response email for registering for that group and if setup notify the leader that someone has been added to their group that they need to respond to.
- You also have the option to remove or transfer people from any of the groups they are already in.
- If you click on their name, this will take you to their profile page (be sure to choose the third option on C9 of the connection card check-in view for this). On this page you can update profile information for anyone in the family AND/OR add a note. This is perfect for adding, assigning and scheduling any guest, pastoral, prayer or other follow-up notes.
NOTE: This registration functionality for check-in is only available when you start check-in from the check-in dropdown logged in as a coach or higher. This means this functionality is never available for sessions started using the check-in password.
Once you get this system in place, it will save you hours of data entry time and become a favorite feature of the admin that does this work. Maybe that can mean a longer lunch on Monday!


